

![]()
In this post, we will cover all the Steps to create Environment in Dell Boomi & How to Attach an Atom to the Environment.
Steps to create Environment in Dell Boomi & How to attach an atom to the environment:
Step 1: Login Dell Boomi Platform using valid credentials:

Step 2: Go to Manage tab and then select Atom Management

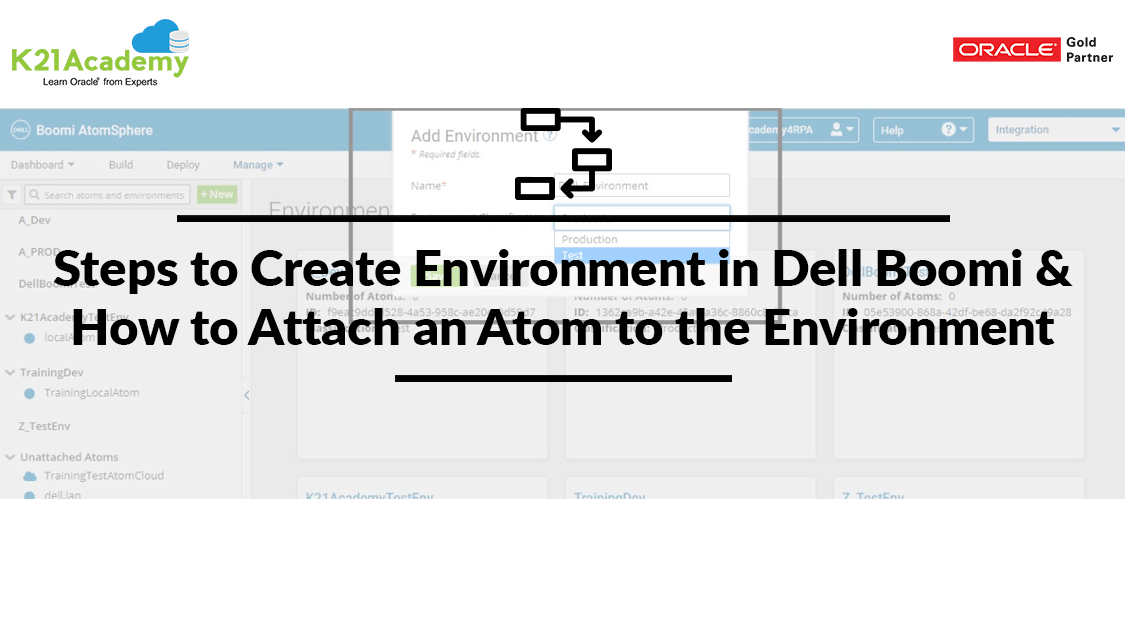
Step 3: Click on the New button and then select the Environment.

Step 4: Name the environment appropriately and select the environment classification either Test or Production.

Step 5: Environment with name Dell_Environment gets created.

Step 6: Select the environment from left and corresponding details get populated on right.

Step 7: Select the attachments and choose the unattached atom to be attached to the environment

Step 8: We get a message processing container attachments.

Step 9: Atom gets attached to the environment and now the process can be deployed to an atom.

So, this is all about the steps for Steps to create Environment in Dell Boomi & How to attach an atom to the environment.
Related Posts:
- Terminologies Every Dell Boomi Developer Must Know, Click Here
- Dell Boomi Platform: Step By Step Activity Guide/ Hands-on Lab Exercise Click Here
- Steps for Local Atom Installation of Dell Boomi Platform, Click Here
- Build your first Dell Boomi Process in 5 min, Click Here
- Steps to Deploy Process in Dell Boomi Platform, Click Here
- Unique Features of Dell Boomi Platform, Click Here
- How to schedule Process using Dell Boomi, Click Here
- Four Key Points About Dell Boomi AtomSphere Platform, Click Here
- Dell Boomi Training: Day 1 Review/Introduction & Q/As, Click Here
If you have not downloaded our FREE Guide i.e., 6 Docs Every Dell Boomi Developer Must Read yet, click on the image below to do it NOW!

Did You Find this Blog useful?
Leave a Comment.
![Microsoft Agentic AI Business Solutions Architect [AB-100] | K21 Academy](https://test.k21academy.com/wp-content/uploads/2025/11/Microsoft-Agentic-AI-Business-Solutions-Architect-AB-100-Exam-Overview1.png)


