

![]()
In this post, we have covered, installation & configuration steps of setting up of Single node Openshift (OKD Cluster).
What is OKD in OpenShift?
An OKD stands for Origin Key Distribution, which is the open-source upstream community edition of Red Hat’s OpenShift container platform. OKD is container management and orchestration platform based on Docker and Kubernetes.
OpenShift is the best Kubernetes distribution that everyone is eagerly waiting for. Openshift gives you a self-service platform to create, modify, and deploy containerised applications on demand. This guide will dive into the installation of OpenShift Origin (OKD) 3. x on an RHEL 7.6 HVM.
If you are new to Docker & Kubernetes world, check out our blog on Kubernetes for Beginners to get an idea about the components and concepts of Kubernetes.
Minishift is a tool that helps you run OKD (Origin Community Distribution) locally by launching a single-node OKD cluster inside a virtual machine. With Minishift, you can try out OKD or develop with it, day-to-day, on your local machine. You can run Minishift on the Windows, macOS, and GNU/Linux operating systems. Minishift uses libmachine for provisioning virtual machines and OKD for running the cluster.
This blog is going to cover:
- Launch an EC2 Instance To Install OKD
- Connect To EC2 Instance Using Putty
- Update the Instance
- Subscribe The Instance To Redhat
- Configure Pre-requisites For OpenShift Cluster
- Openshift Cluster Installation
- Configure OpenShift
- Login Into Openshift Console
- Start/Stop/terminate Instance
Prerequisites For Cluster Setup
Deploying Openshift clusters can be hard and painful, so an alternate way of doing this can be using a Cloud Platform for deploying them. You can use any Cloud Platform; here, we are using AWS Cloud. Before getting on with creating a cluster, make sure you have the following setup ready:
I) We will follow the guide here to install and configure Openshift (OKD Cluster). (Check the Guide Download link below)
II) Create an AWS Free Account, as we will use AWS Cloud for setting up an Openshift Cluster. To create an AWS Free Account, check our blog on AWS Free Trial Account.
III) Subscribe to Redhat Developer and create and update Redhat account, access the Active subscription. We need to have you will reach the subscription page, where you should see one Active Subscription.
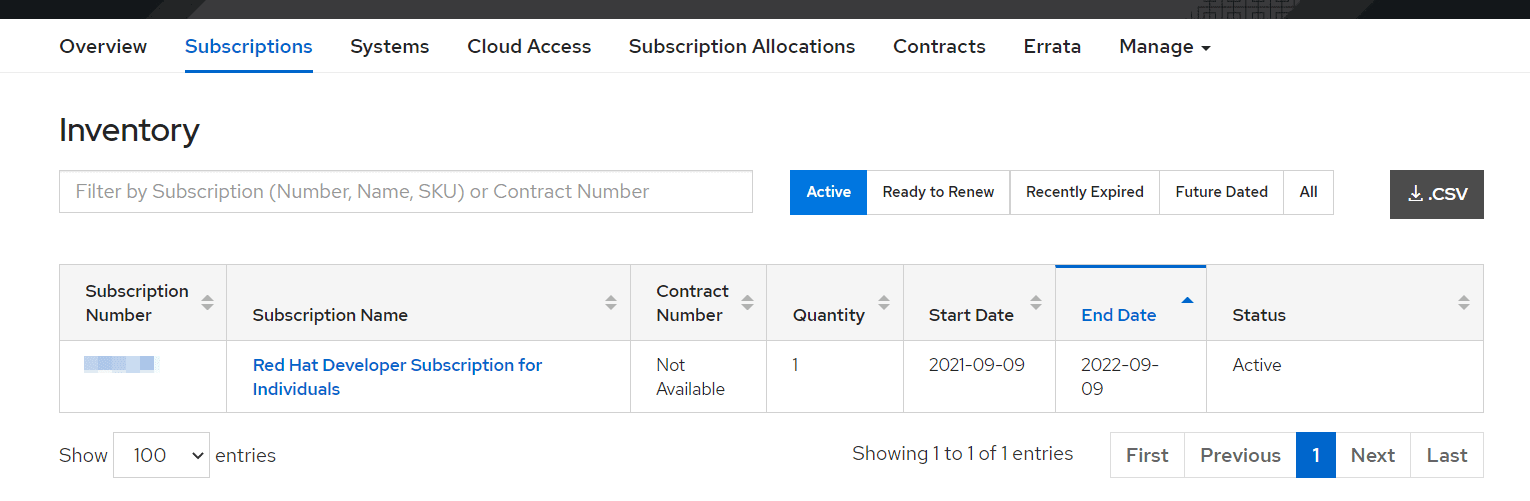
Note: The Pre-requisite covered in Section 3 in the guide (Download link below)
Check Out: How to Deploy Application on OpenShift.
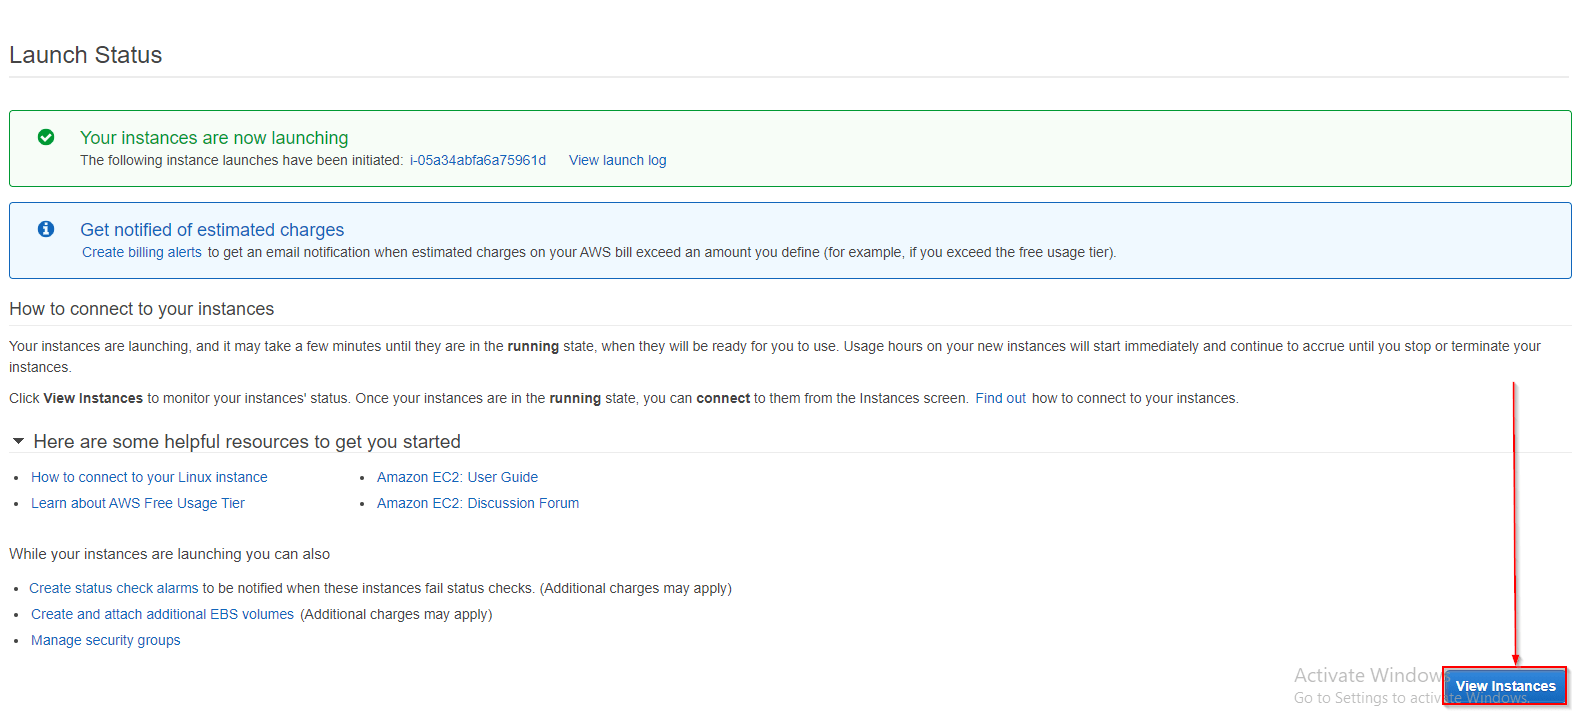
Launch an EC2 instance (Red Hat Linux) to install OpenShift (OKD)
The EC2 is a computing service that provides scalable computing capacity and eliminates the equipment investment up-front, so the applications can be developed and deployed faster. Virtual machines on AWS EC2 are called instances. In this guide, we are going to use t2. Medium EC2 Instance, which is not part of the free trial period, pleases (shutdown) to delete the instance once you are done with the practice. This Setup is done on an AWS EC2 instance with the following configurations.
- AMI: RHEL-7.6_HVM_GA-20190128-x86_64-0-Hourly2-GP2 – ami-000db10762d0c4c05 from Community AMI
- Instance type: t2.medium
- Auto-assign Public IP: Enable
- Configure Security Group
Read More: About Azure Openshift.
Open Required ports for OpenShift in EC2 instance
Now we have to Access the instance and click on the Security Group to open Inbound ports.

Note: 8443 port number is used for OpenShift.
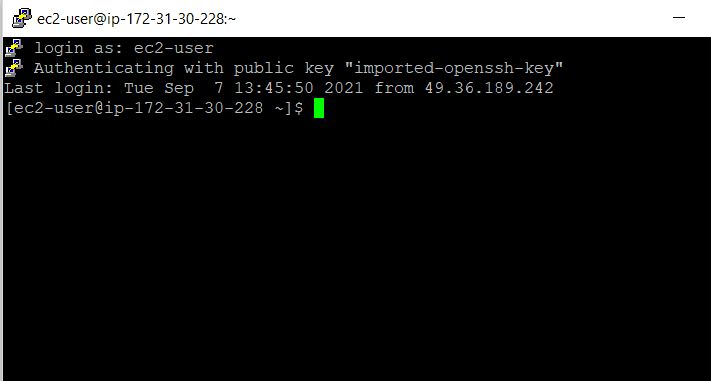
Connect to EC2 instance (Red Hat Linux) using Putty
PuTTY is an SSH and telnet client. PuTTY is a free and open-source terminal emulator, serial console, and network file transfer application. It supports several network protocols, including SCP, SSH, Telnet, rlogin, and raw socket connection. In this section, we will download and install Putty and try to SSH (Secure Shell) into our instance using it. Connect to the newly created instance using Putty using the .pem file. Here when we select the Save private key, we are basically saving the .ppk key that we require to login into our instance.
So, make sure you save it. Follow our blog here to know more about How to Generate SSH Keys Pair (Windows/Linux)
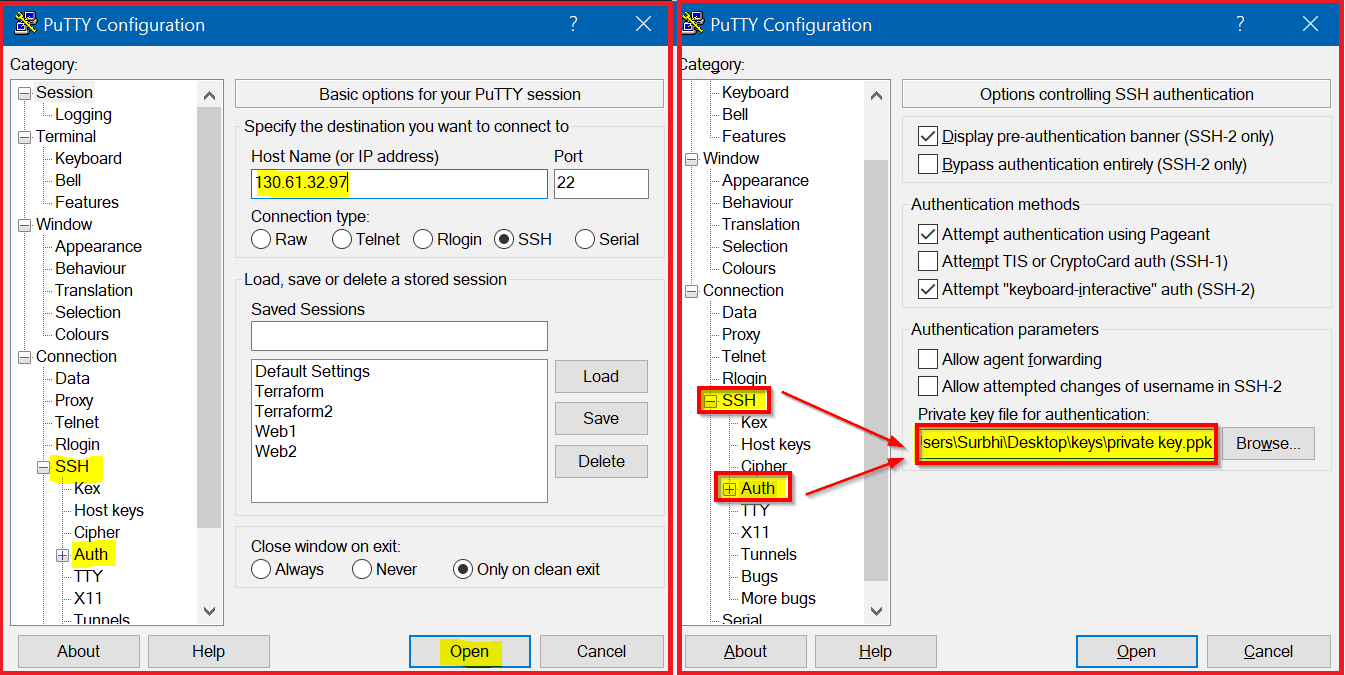
Note: Connect to EC2 Instance using Putty covered in Section 5 of the guide (Download link below)
Check Out: Our blog post on Openshift Use Cases.
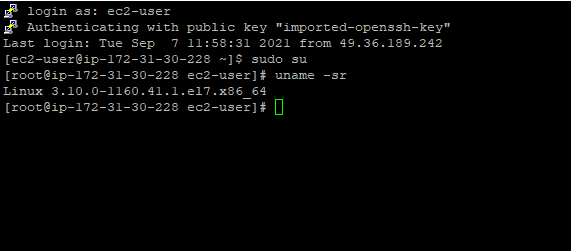
Update the Red-hat Linux instance
Switch to the root user and run the command to update the instance.
yum -y update
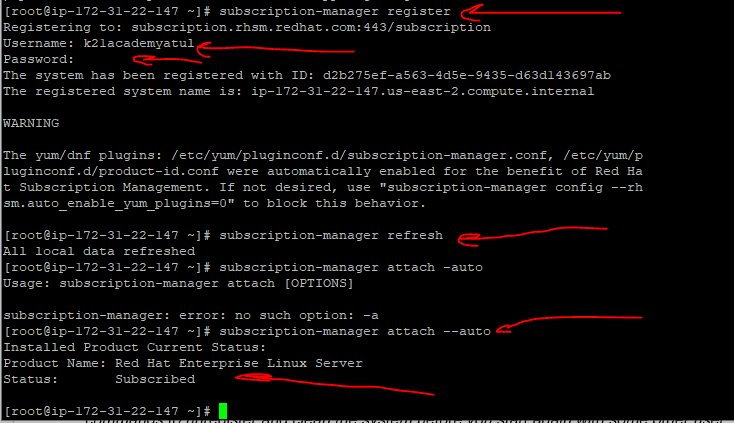
Subscribe Linux Machine to Redhat
Before running the below commands, note that you will need to have a Red Hat subscription. Please follow the steps as mentioned in the pre-requisites to subscribe to Red Hat and have your credentials ready.
Run the following commands and verify the output :
subscription-manager register
Enter Redhat username and password
subscription-manager refresh
subscription-manager attach --auto
Configure pre-requisites for Openshift Cluster
Enable repository for RHEL
sudo su –
yum install -y yum-utils device-mapper-persistent-data lvm2
yum-config-manager --add-repo https://download.docker.com/linux/centos/docker-ce.repo

subscription-manager repos --enable=rhel-7-server-extras-rpms
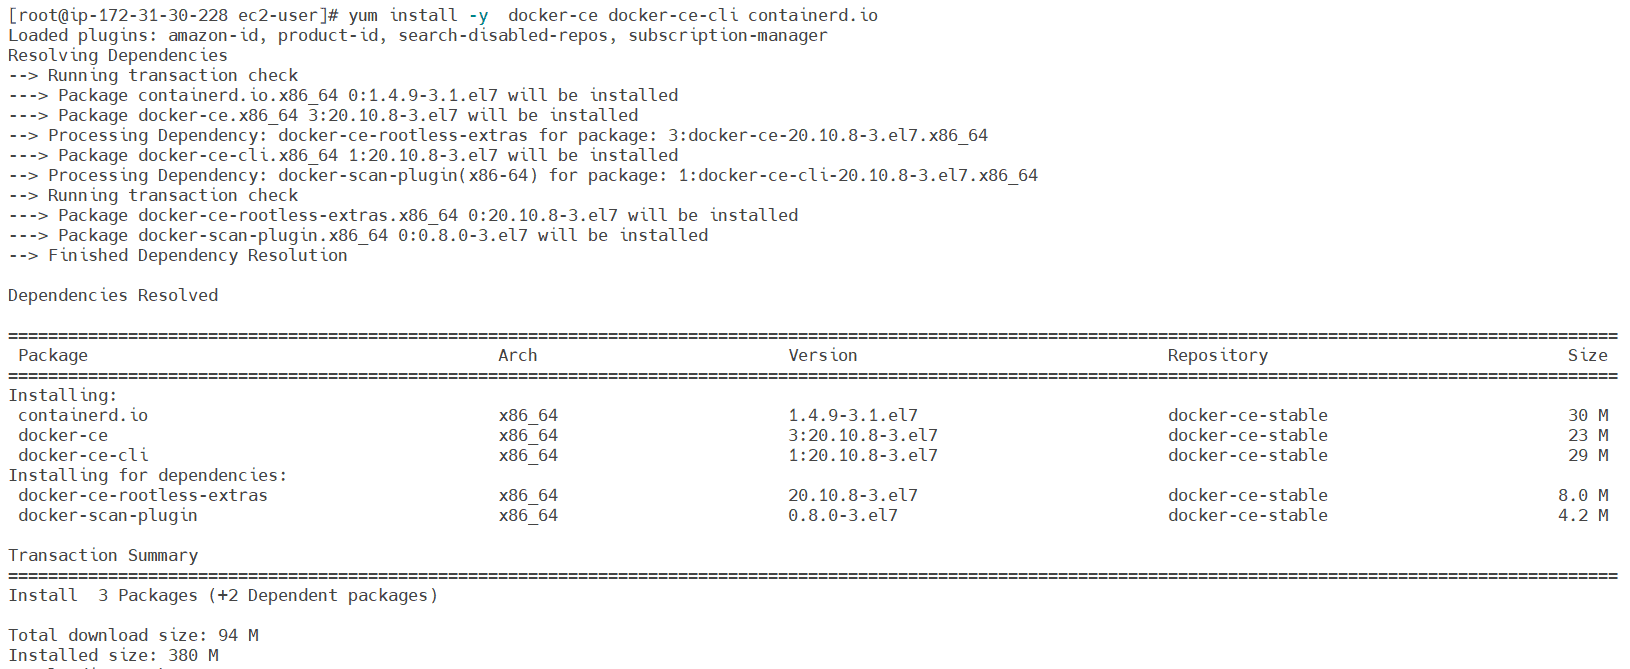
Install docker on the machine and enable the Docker and Configure the Docker daemon with a registry parameter as well.
Do Read: Our Blog on Docker for more information.
yum install -y  docker-ce docker-ce-cli containerd.io
systemctl start docker
systemctl enable docker
Openshift (OKD) Cluster Installation
Copy the binary for oc. Run the following commands and verify the version of the oc binary.
cd /root
wget https://github.com/openshift/origin/releases/download/v3.11.0/openshift-origin-client-tools-v3.11.0-0cbc58b-linux-64bit.tar.gz
tar xvf openshift-origin-client-tools*.tar.gz
Verify the version of the oc binary by running the command :
oc version
Start the cluster by running the command (Public IPv4 DNS and Public Ipv4 addresses are present in Instance Summary)
oc cluster up --public-hostname=34.230.70.196
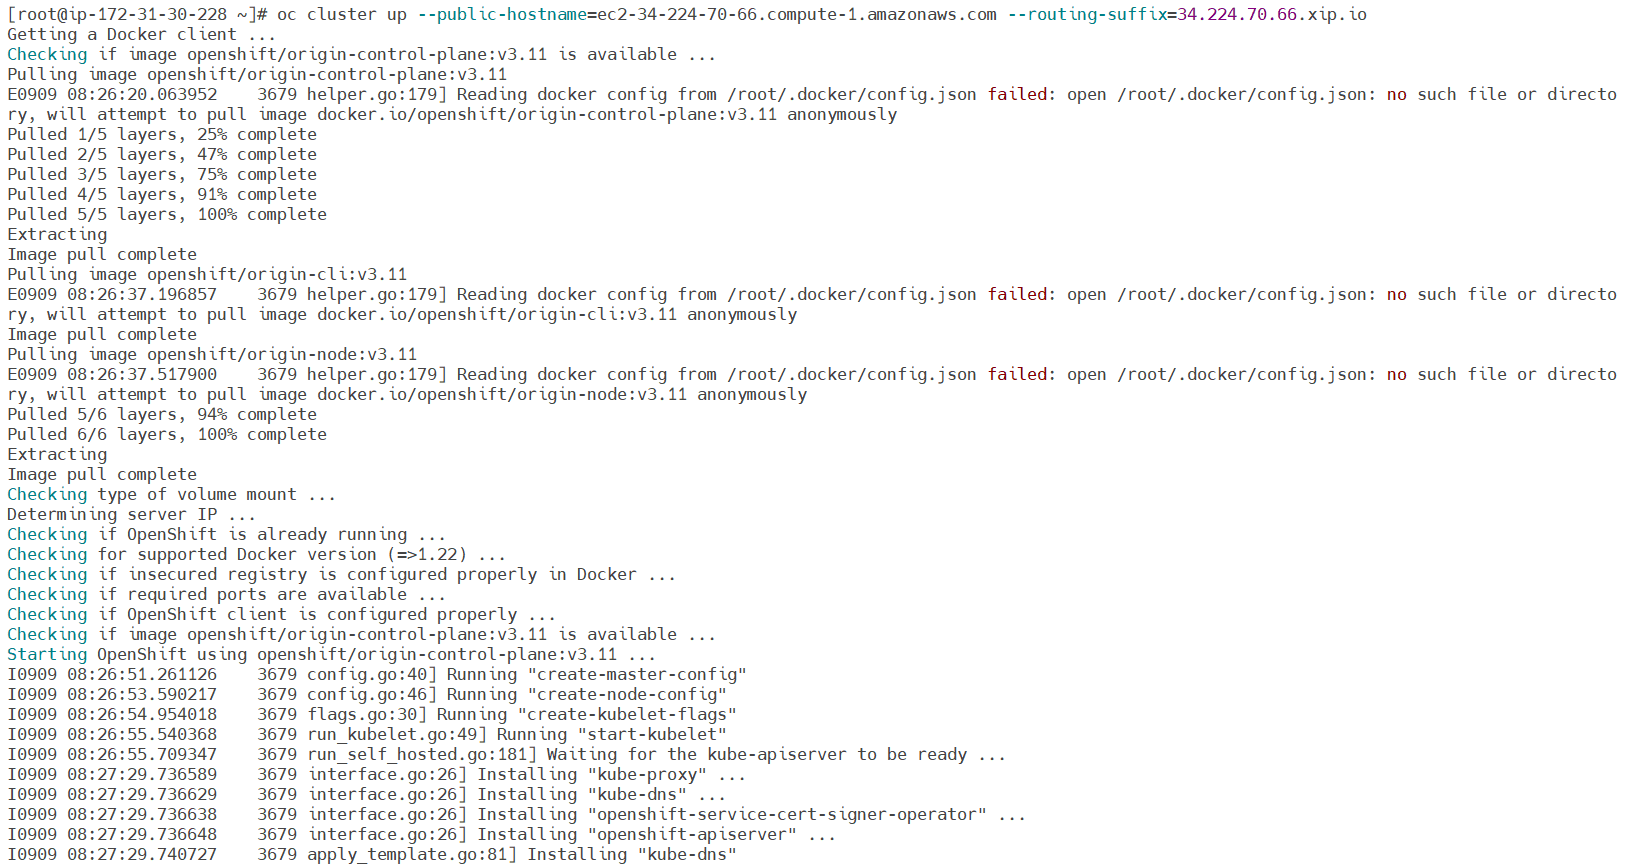
Wait until the command completes (it will take around 10 minutes). You should get the following output:
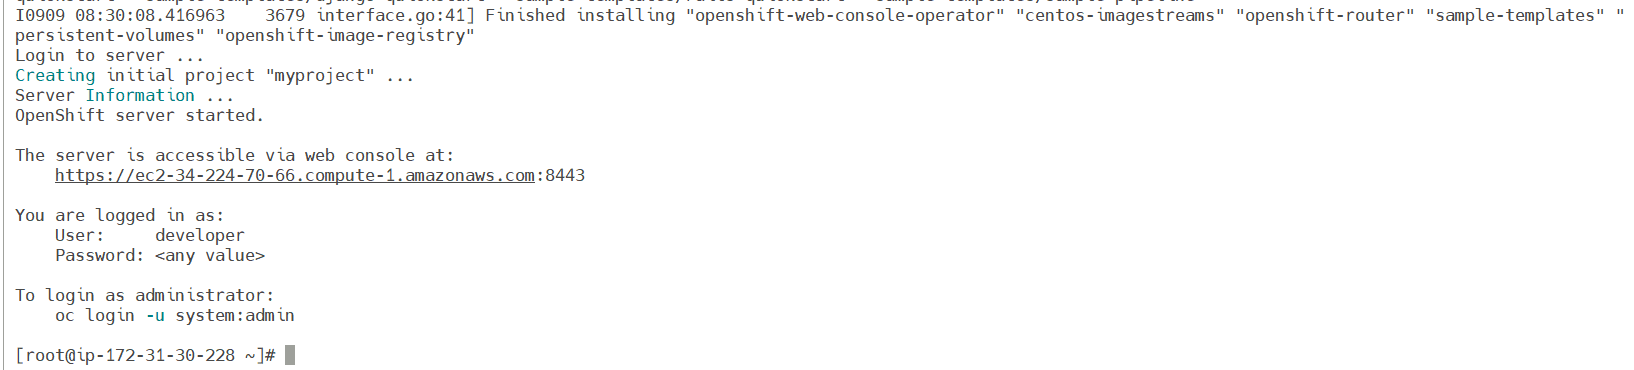
Configure Openshift
Log in as administrator by running the command:
oc login -u system:admin
oc create user k21admin
oc adm policy add-cluster-role-to-user cluster-admin k21admin --rolebinding-name=cluster-admin
Access the Web Console URL, which was provided as the output of the above installation. While accessing the console, remember to append:8443/console at the end of the Public IPv4 DNS
# https://ec2-34-224-70-66.compute-1.amazonaws.com:8443/console
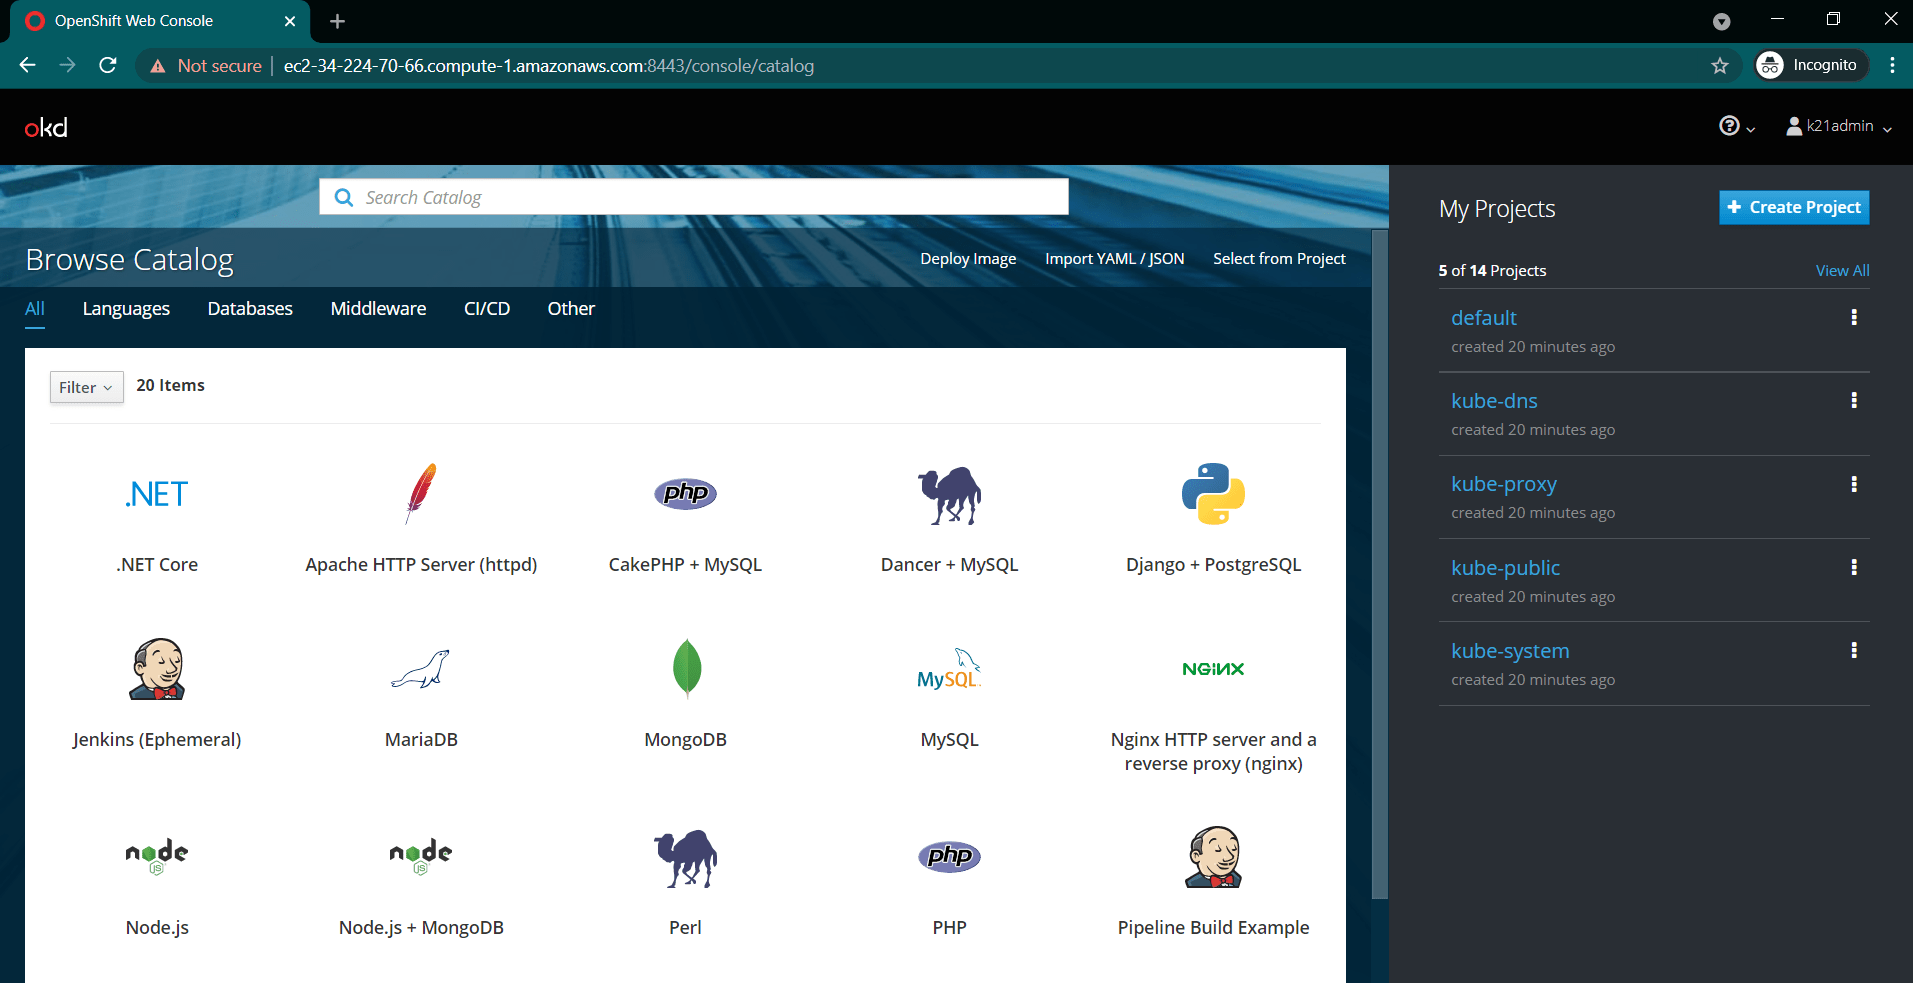
Login to Openshift Console
Provide the username as k21admin and any non-blank password to login to console
Reset the cluster
When you stop the VM or EC2, this will shut down the cluster due to this, and we need to reset our cluster with the new IP address.
Check the cluster status.
oc cluster status
Remove old cluster configuration is better
mv openshift.local.clusterup openshift.local.clusterup.old.ip
Or remove this config
rm -rf openshift.local.clusterup
As Cluster is not running, we need to up our cluster and again perform cluster up to create the cluster. Your command should look like below (replace text in yellow highlighter as per your setup.
oc cluster up --public-hostname=<Machien_Public_IP_Address>
Check Cluster logs
$ /root/openshift.local.clusterup/logs
Conclusion
There are many ways to deploy an application on OpenShift. In this post, I discussed and showed some of the easiest methods on how to deploy an application on OpenShift? If you already have all those tools that build and store images, then you can deploy applications using container images. Hence, OpenShift is a great tool for container-based applications over the cloud. We can build, test, deploy and maintain applications using it very easily.
Related/References
- Openshift vs Kubernetes: What is the Difference?
- Kubernetes for Beginners
- Red Hat OpenShift- What, Why, and How?
- OpenShift For Beginners: 30+ Hands-On labs You Must Perform | Step-by-Step
- Deploy Applications Using OpenShift: Step-by-Step
- OpenShift Official Documentation
FREE Guide Download Here: Steps to create your own first OKD Cluster.
Next Task For You: Join Our FREE Class
Begin your journey towards becoming a Red Hat Certified Specialist in OpenShift Administrator and earning a lot more in 2021 by joining our Free Class.

![Microsoft Agentic AI Business Solutions Architect [AB-100] | K21 Academy](https://test.k21academy.com/wp-content/uploads/2025/11/Microsoft-Agentic-AI-Business-Solutions-Architect-AB-100-Exam-Overview1.png)


